Appearance
Skip to content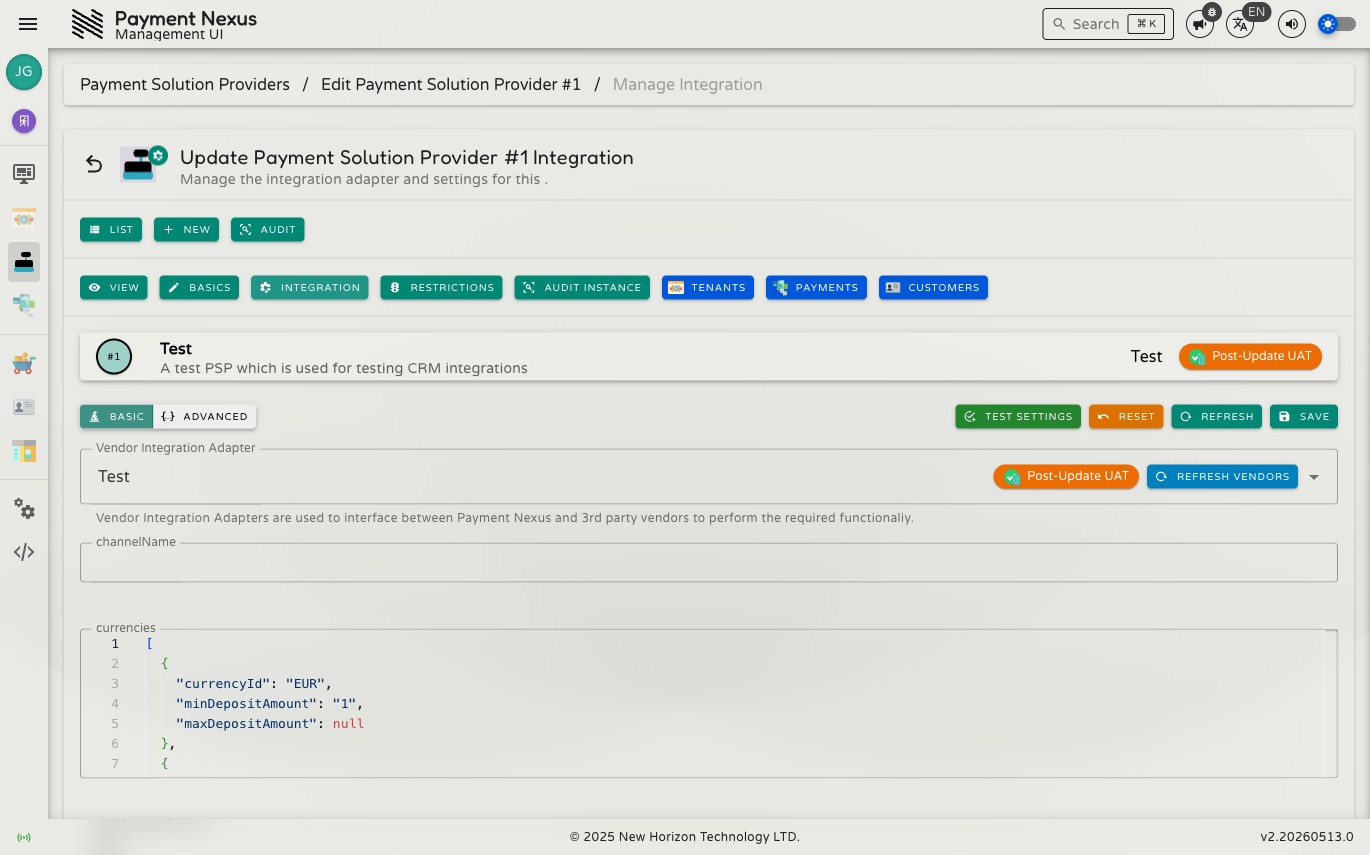
PSP Adapter Configuration
PSP Adapter Configuration is where you connect a PSP account to its payment processor integration. The integration defines the communication protocol, available channels, and configuration fields specific to that processor. Because each integration defines its own fields, the form will look different depending on which integration is selected.
Permissions
| Action | Permission required |
|---|---|
| Edit PSP adapter configuration | psp:update:integration |
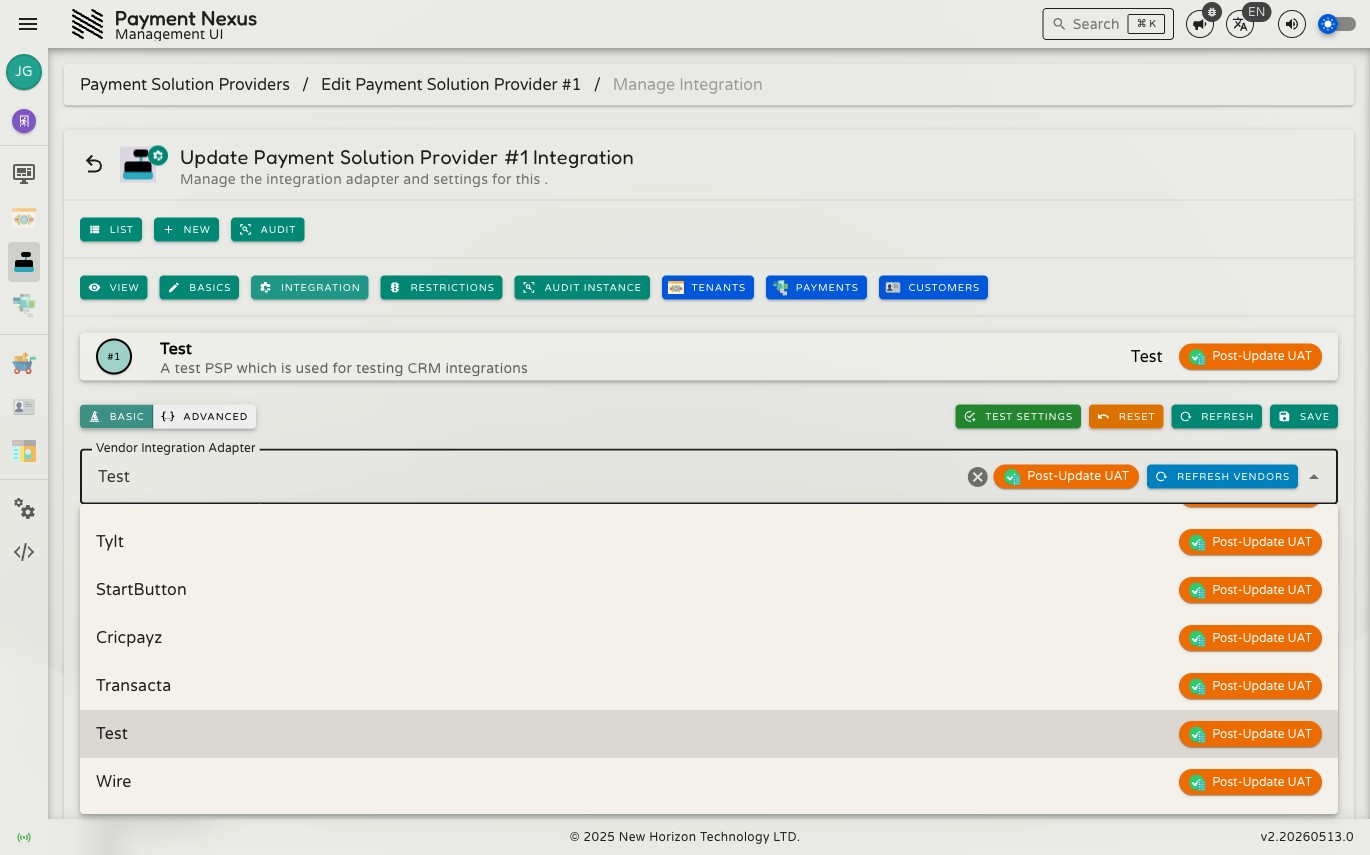
Vendor selector
The dropdown at the top of the page lists every PSP integration available in this environment. Each option shows the integration name and its release state.
Refresh Vendors — the button inside the dropdown updates the list without leaving the page. Use this if a new integration has just been made available and is not appearing in the list.
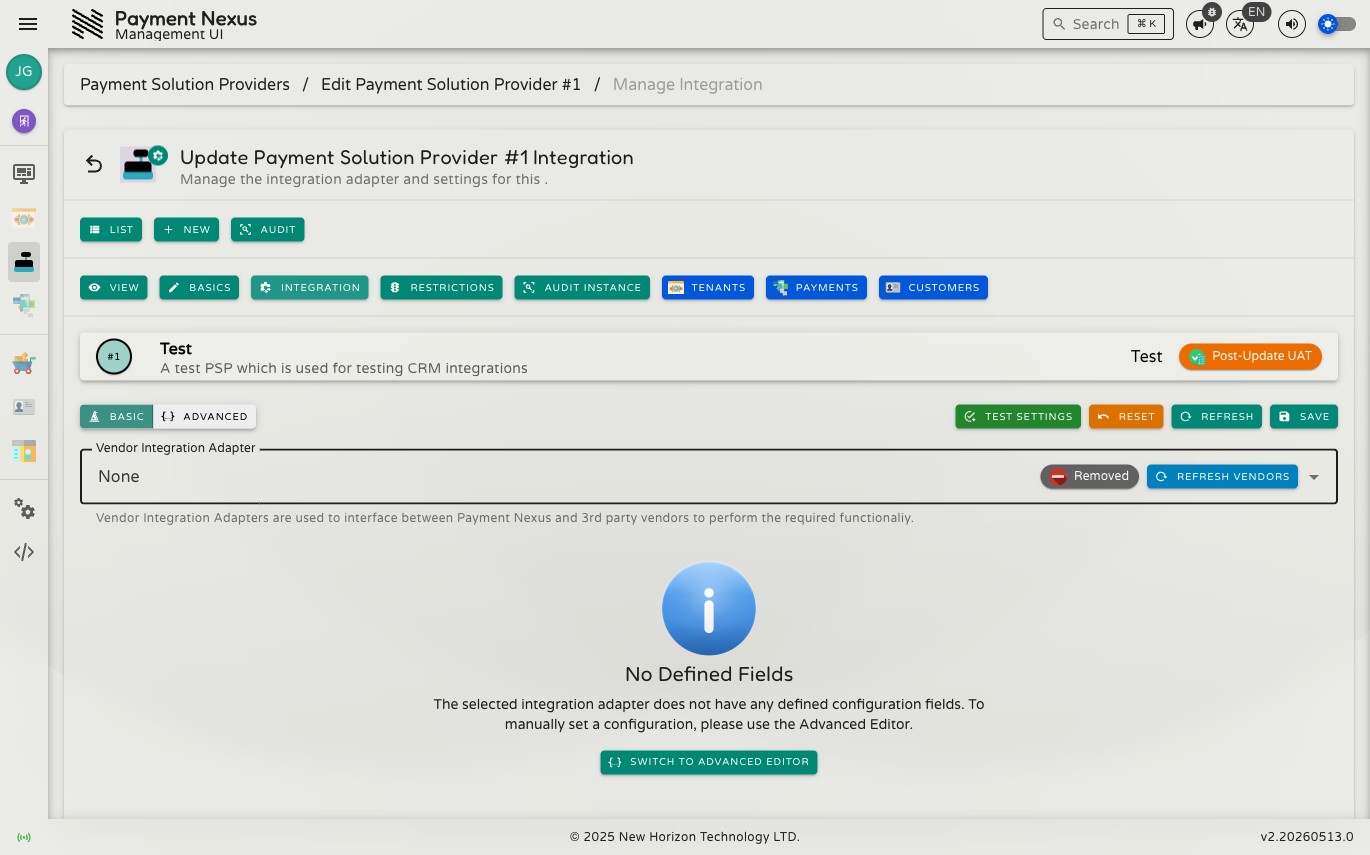
Removing the integration — clicking the × on the selector disconnects this PSP account from its integration. The form fields below disappear immediately, but the change is not applied until you click Save.
WARNING
Removing the integration and saving will disconnect this PSP account from its payment processor. Any brands using this PSP will lose access to its payment channels until an integration is selected and configured again.
No integration selected
When no integration is selected the configuration area is empty. You must select an integration before you can configure, test, or save anything.
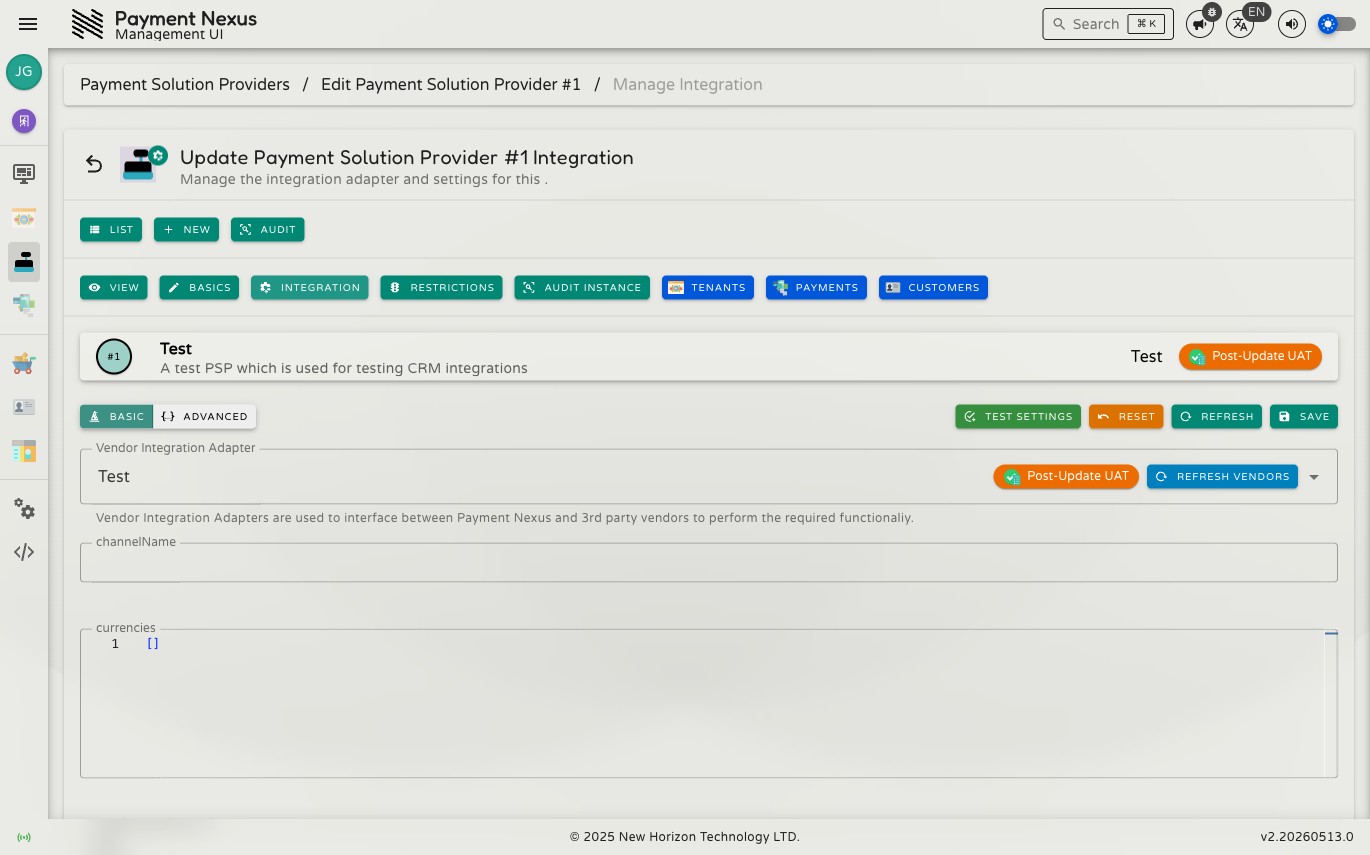
Basic tab
The Basic tab shows the configuration form for the selected integration. The fields are defined by the integration itself, so they vary between processors. Depending on the field, you may see a text input, a number input, a Yes/No toggle, a dropdown, a JSON editor, or an icon uploader.
PSP-specific field types:
| Field type | Description |
|---|---|
| Icon (Light) | An image uploader for the channel icon shown in light-themed checkout pages |
| Icon (Dark) | An image uploader for the channel icon shown in dark-themed checkout pages |
| Currencies | A JSON editor for defining per-currency limits (minimum and maximum deposit amounts) |
Switching integrations — if you switch to a different integration, any values whose field names match between the old and new integration are carried over automatically. Fields that do not exist in the new integration are removed.
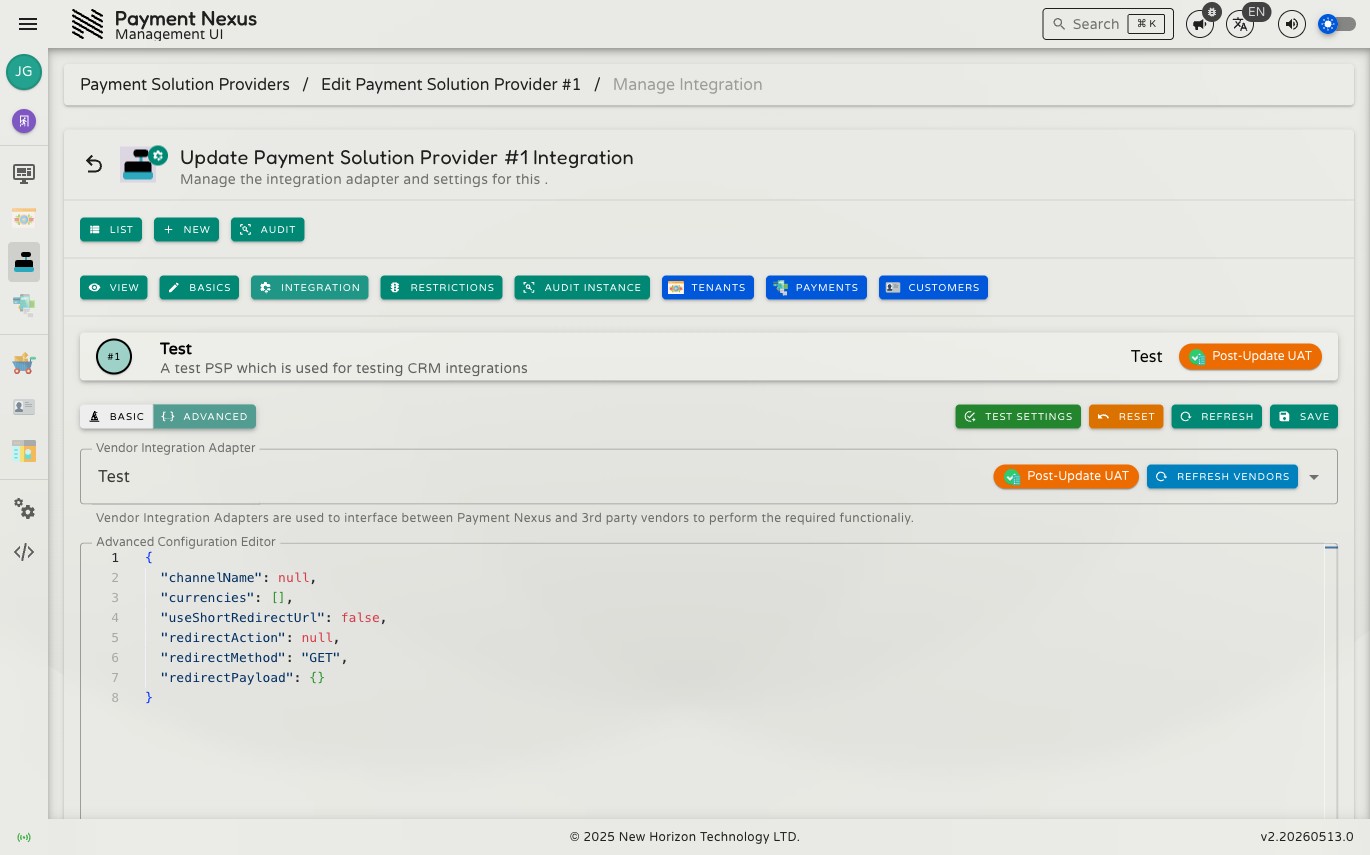
Advanced tab
The Advanced tab shows the complete configuration as raw JSON. Use it when:
- A field you need to set is not visible on the Basic tab
- You want to paste in a known-good configuration from another source
- You need to find and fix a configuration error that the Basic tab is not surfacing
Whatever you edit in the Basic tab is instantly reflected in the Advanced tab, and vice versa — they show the same data in different forms. On save, the JSON is checked against the integration's rules; invalid values will be rejected with an error.
TIP
If saving fails with a validation error and you cannot spot the problem on the Basic tab, switch to the Advanced tab and inspect the raw JSON — the problematic field is often easier to find there.
Toolbar actions
| Action | Color | Description |
|---|---|---|
| Test Settings | Blue | Checks whether the current configuration can successfully connect to the payment processor |
| Reset | Orange | Discards all unsaved changes and restores the last saved values |
| Refresh | Blue | Reloads the saved configuration from the server |
| Save | Blue | Saves the current integration selection and all configuration values |
Test Settings
Test Settings sends the current configuration to the PSP integration and checks whether it can connect. If there are unsaved changes on the form when you click it, a prompt appears asking what to do first:
| Choice | Effect |
|---|---|
| Yes | Saves your changes first, then runs the test |
| No | Runs the test immediately against your current unsaved values — nothing is saved |
| Cancel | Goes back without running the test or saving anything |
All fields on the form are locked while the test is running. The test can take up to a minute.
Test passed
When the test succeeds, the Test Settings button turns green to confirm the integration could connect and authenticate with the payment processor using the configuration provided.
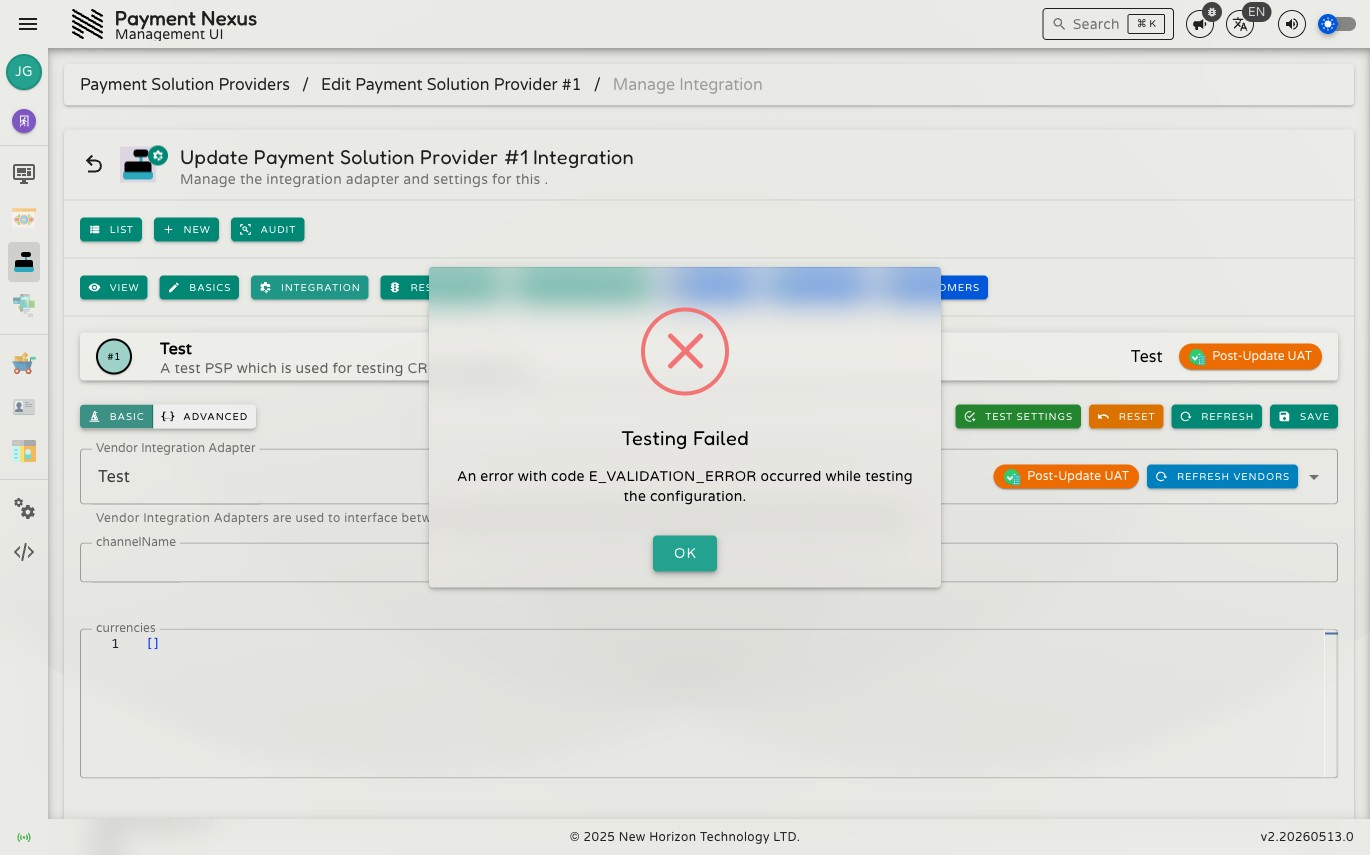
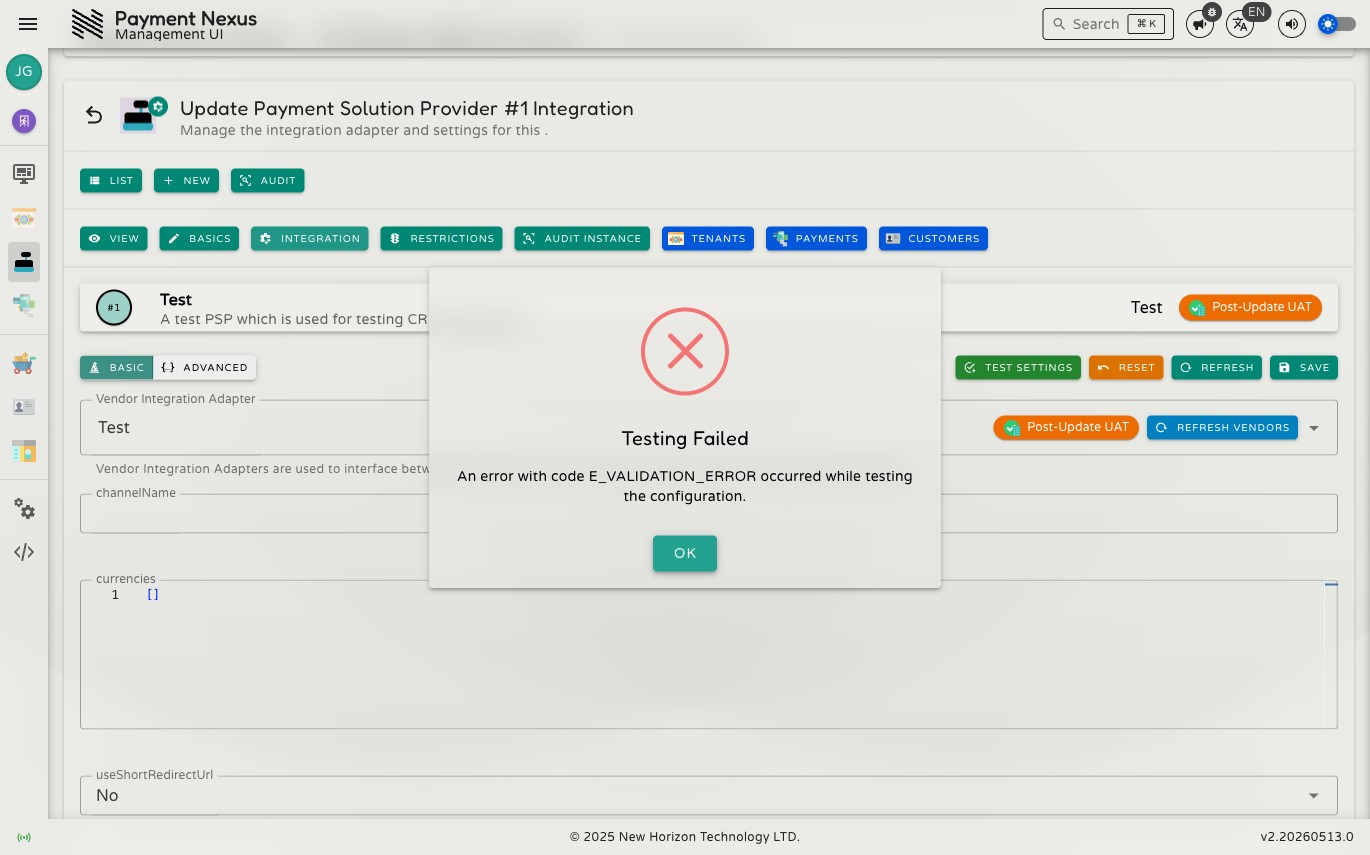
Test failed
A failure dialog shows what went wrong. There are two common causes:
- Invalid configuration values — a required field is empty, or a value is in the wrong format. Correct the field on the Basic or Advanced tab and test again.
- Connection or authentication failure — the values are correctly formatted but the payment processor rejected them (for example, a wrong API key or an unreachable endpoint). The error message will describe what the processor reported.
TIP
Always run Test Settings after changing credentials or endpoints before relying on this PSP in production.